
Freeman Apou is a passionate animal welfare advocate and chicken expert from a lifetime of experience raising poultry on his family’s farm. In his guest article below, Freeman shares his knowledge on egg hatching basics, walking you step-by-step through the process to a successful hatch of chicks.
How to Hatch Chickens
If you’re looking to hatch your own chickens, you need the correct tools, knowledge, and confidence to do so. Hatching is loads of fun and you can get the entire family involved. Children absolutely love hatching chicks. If you’re a school teacher, start a class project. Incubating eggs is a fantastic way to keep children engaged in the process and teaches them responsibility.
Hatching eggs is wonderfully easy, especially if you’re using an electric, automated incubator. The total process of hatching chicken eggs takes only 21 days, so you won’t have to wait long to see the results. During the incubation process, you can candle your eggs, a technique to check growth of the chick embryo, although I recommend not doing this more than twice for the safety of the growing chick.
Tools
To successfully hatch eggs, you’ll need a few items. First, you need fertilized eggs. If you already have a clutch of hens in your coop, you’re already halfway there. You simply need a rooster to fertilize the eggs and a broody hen will do all the work. However, if you don’t have a broody hen, and you don’t want a rooster, you will need the following items:
- Incubator – You will either need a store purchased incubator, or you can make one
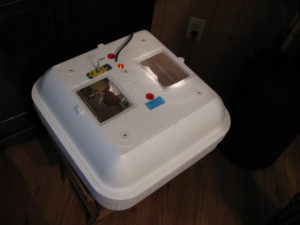 yourself. Making a homemade incubator yourself can be laborious or fun depending on whether you’re a person who like making things, or are a bit lazy like me. If you have the time, know-how, and inclination, I would recommend simply finding a good guide on building an incubator. Otherwise, purchase a good brand incubator. You should judge the quality of the incubator based on reviews by other purchasers, not on the unit’s price. In my experience, a high price doesn’t always correlate to a high quality with incubator.
 - Eggs – This is the key item in hatching. I highly recommend you visit your local
 poultry farm for fertilized eggs. They are better quality than what you will find for sale on any website. Eggs are very temperamental, even small disturbances will decrease your hatch rate (i.e. the percentage of chicks that hatch). If you do purchase fertilized eggs online, you should let them sit for about 12 hours to settle before beginning the incubation process. Keep in mind that even with settling on-line purchased eggs before incubation, the success rate of your hatch will be less than that if you purchase eggs from a local provider.
 - Hygrometer – A hygrometer measures the humidity of the internal incubator environment. Although some newer incubators come with an inbuilt hygrometer, this built-in instrument often is unreliable. I always recommend using a secondary hygrometer in case the internal mechanism is faulty. I suspect the humidity in the incubator causes the internal hygrometers to fail, but I’m not an engineer and am just guessing.
- Thermometer – The thermometer should be a good-quality brand. All automated incubators come with a thermometer, but you should always have a separate thermometer to double check the incubator. Maintaining temperature and humidity is crucial to success of the hatch. If you get the temperature or humidity wrong your eggs won’t hatch.
- Permanent marker – You will need a permanent marker to mark your eggs. Any dark-colour will do the trick.
Process
Hatching eggs requires that you follow certain steps. Below is the process you will need to follow to successfully hatch a clutch of fertilized eggs.
Day 1 -6 (Getting Started)
Now that you have all your tools, let’s get started. First, choose your eggs. Make sure 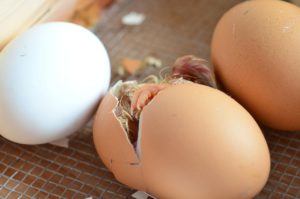 there are no obvious defects in the egg or it will affect the hatch rate. Once you’ve chosen the eggs you want to hatch, take each one individually and make two different symbols on each end of the egg. Some people write an on “1” side, and an “0” on the other side. This just helps you monitor the necessary egg turning process. Use of these symbols is particularly crucial for home-made incubators that require you to manually turn the eggs during incubation.
You should adjust the temperature of your incubator to 99-99.5 degrees Fahrenheit if using a forced air incubator. If you’re using a still air or home-made incubator, then set the temperature to 101-102 degrees Fahrenheit. Additionally, you need to set the humidity to 45-50%. The humidity percentage will be changed at day 18 in the process. Place your eggs in the incubator, and leave them to incubate.
If your incubator does not include an automatic egg-turning mechanism, you must turn the eggs manually between 3-5 times each day, any less than that and the hatch will fail. You can keep track of your manual egg turning by using the symbols you made with the permanent marker. Turning, along with humidity levels and temperature, are the core foundations that chicken hatching relies on. Any deviations from these foundations results in a decrease of viability in the eggs. If you’re a full-time worker, you should consider using an automated incubator to streamline the process unless you can delegate manual egg-turning to someone reliable who can be home to do this. Egg turning should occur every 4 hours.
Day 7 – 17 (Candling)
Candling is an excellent way to check which eggs are growing. Candling should occur around day 7-8 in the incubation process. First, find a bright light source, e.g. a 60-watt 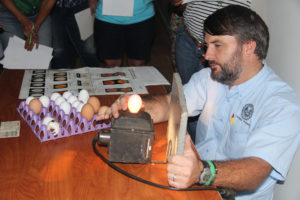 light bulb (bright flashlights/torches are often used). Next, cut a hole in a piece of cardboard that is smaller than the diameter of the egg), and place the light source over the hole on one side and the egg on the other. The light from the bulb will shine through and illuminate space within the egg. Dark shadows inside the eggshell represent growth. Particularly, you should see a venous structure surrounding the inside of the egg, and a shady spot as well. These are signs of success embryo growth. If you see absolutely nothing, or if you’re unsure, continue to incubate egg – you don’t want to discard an egg that might be viable. Continue the process of ensuring the proper level of humidity, temperature, and regular turning of your eggs daily.
Day 18 – 20 (Critical Period)
On day 18, you can candle again and should begin to see clearer results. Day 18 marks a critical point in chick growth and requires you to change two things. First, the humidity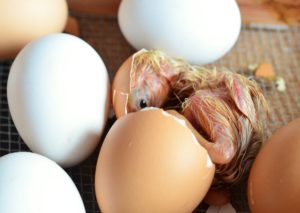 needs to be increased to 65-75%, this will remain the stable humidity level until hatch. Though you will not change humidity levels again, it is nonetheless critical that you continue to monitor the incubator humidity closely. Second, egg turning ceases absolutely. You should not touch the eggs again before the hatch, except to do an additional candling, but that should be avoided as any disturbance of the eggs in this period can cause issues. The eggs need to remain still. In preparation of hatch day, you may want to place a hatching tray or hatching cloth down so that there isn’t a huge mess left after the chicks emerge. I recommend you do this to decrease your cleaning time later.
Day 21 – (Hatch Day)
Hatch day! Don’t expect each chick to emerge at the same time all chirping away – this  never happens. Each chick will take as long as it needs to come out, so be patient. Do not rush your chick’s hatching. If you’re using a table-top incubator, you can watch the chicks hatch from above which is very exciting. Don’t be disheartened if only a few of your eggs hatch. There are many reasons why eggs fail to hatch, such as: disease; incorrect hatching conditions for the egg (humidity and temperature); eggs were not actually fertile; genetic abnormalities; etc. Focus on those chicks that did hatch. For future hatches, you should calculate your hatch rate. The hatch rate is calculated by dividing the hatched chicks by the total incubated,
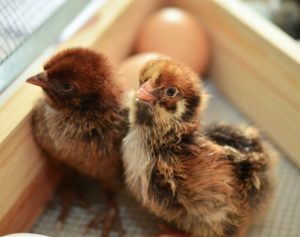 then multiplying that number by a hundred. For example, if you hatched 7 eggs, but placed 12 into the incubator, it would look like this: 7/12 x (100) = 58.33%. This is your hatch rate. Lastly, to help others new to egg hatching, consider writing an on-line review of the incubator you used including your hatch rate.
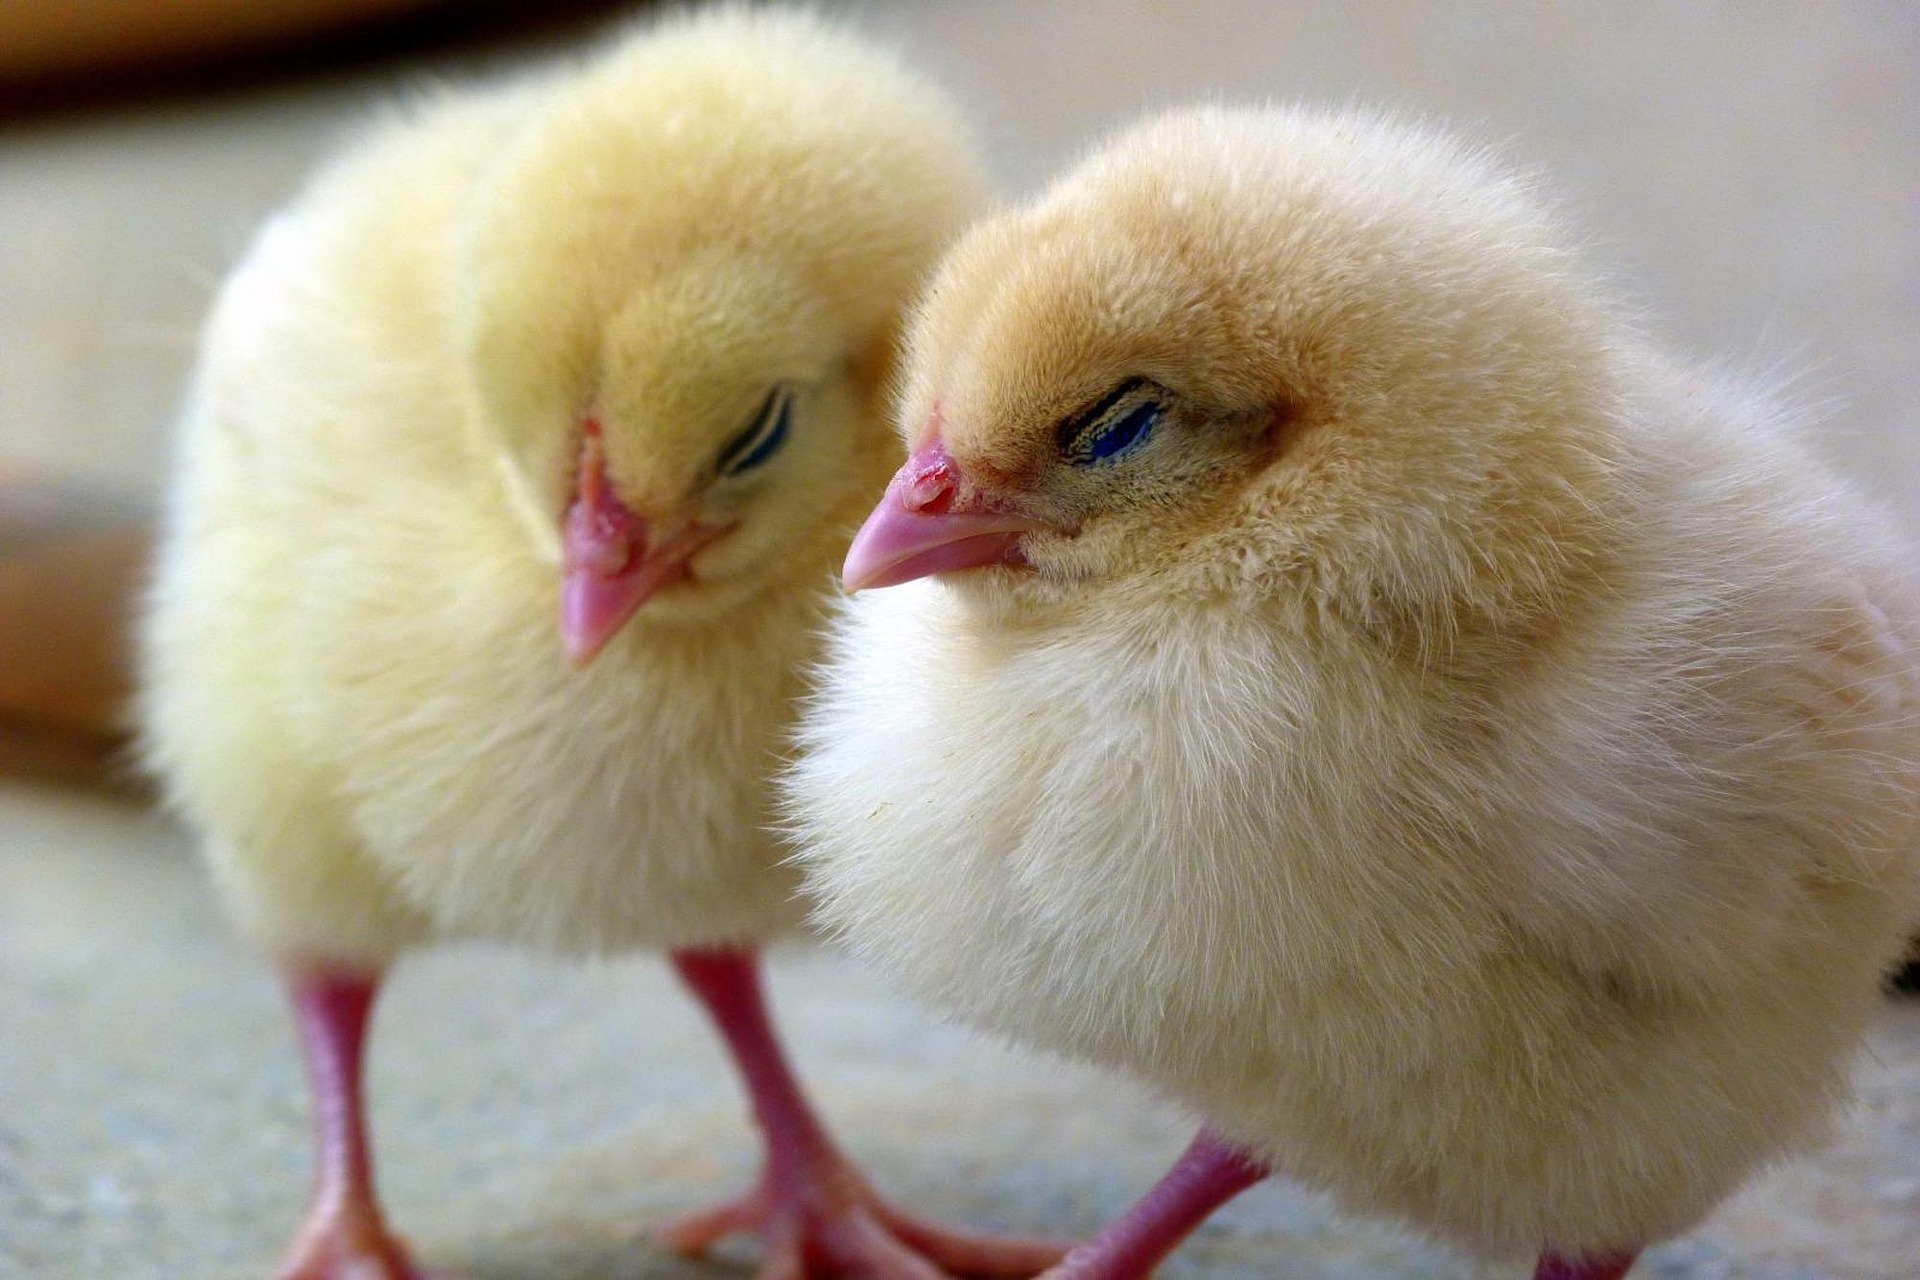
Now that the chicks are hatched the hard part is over. You now need to set your chicks up with a brooder lamp inside a box or get a brooder box that includes a heat source. Happy Hatching!
 Freeman Apou grew up on a farm raising chickens which inspired him to get his BSc in Biology to become a veterinarian. He has taken a different turn and is now a medical student at the University of Auckland, NZ. He is extremely passionate about animal welfare and Darth Vader. Freeman is a blogger at http://dvincubators.com and you can also follow him on Facebook and Twitter.
Image Sources: [1], [2], [3], [4], [5], [6], [7], [8]
| SUPPORT THE URBAN CHICKEN PODCAST: |